IoT Connector Management
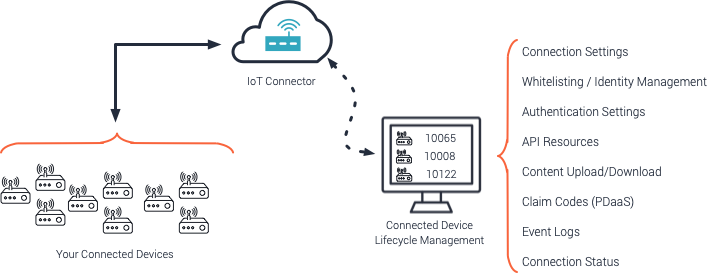
This document covers Exosite's IoT Connector management feature set and provides descriptions of each component's functionality. All device connectivity offerings are located within the realm of your IoT Connector Solution page of your Exosite account.
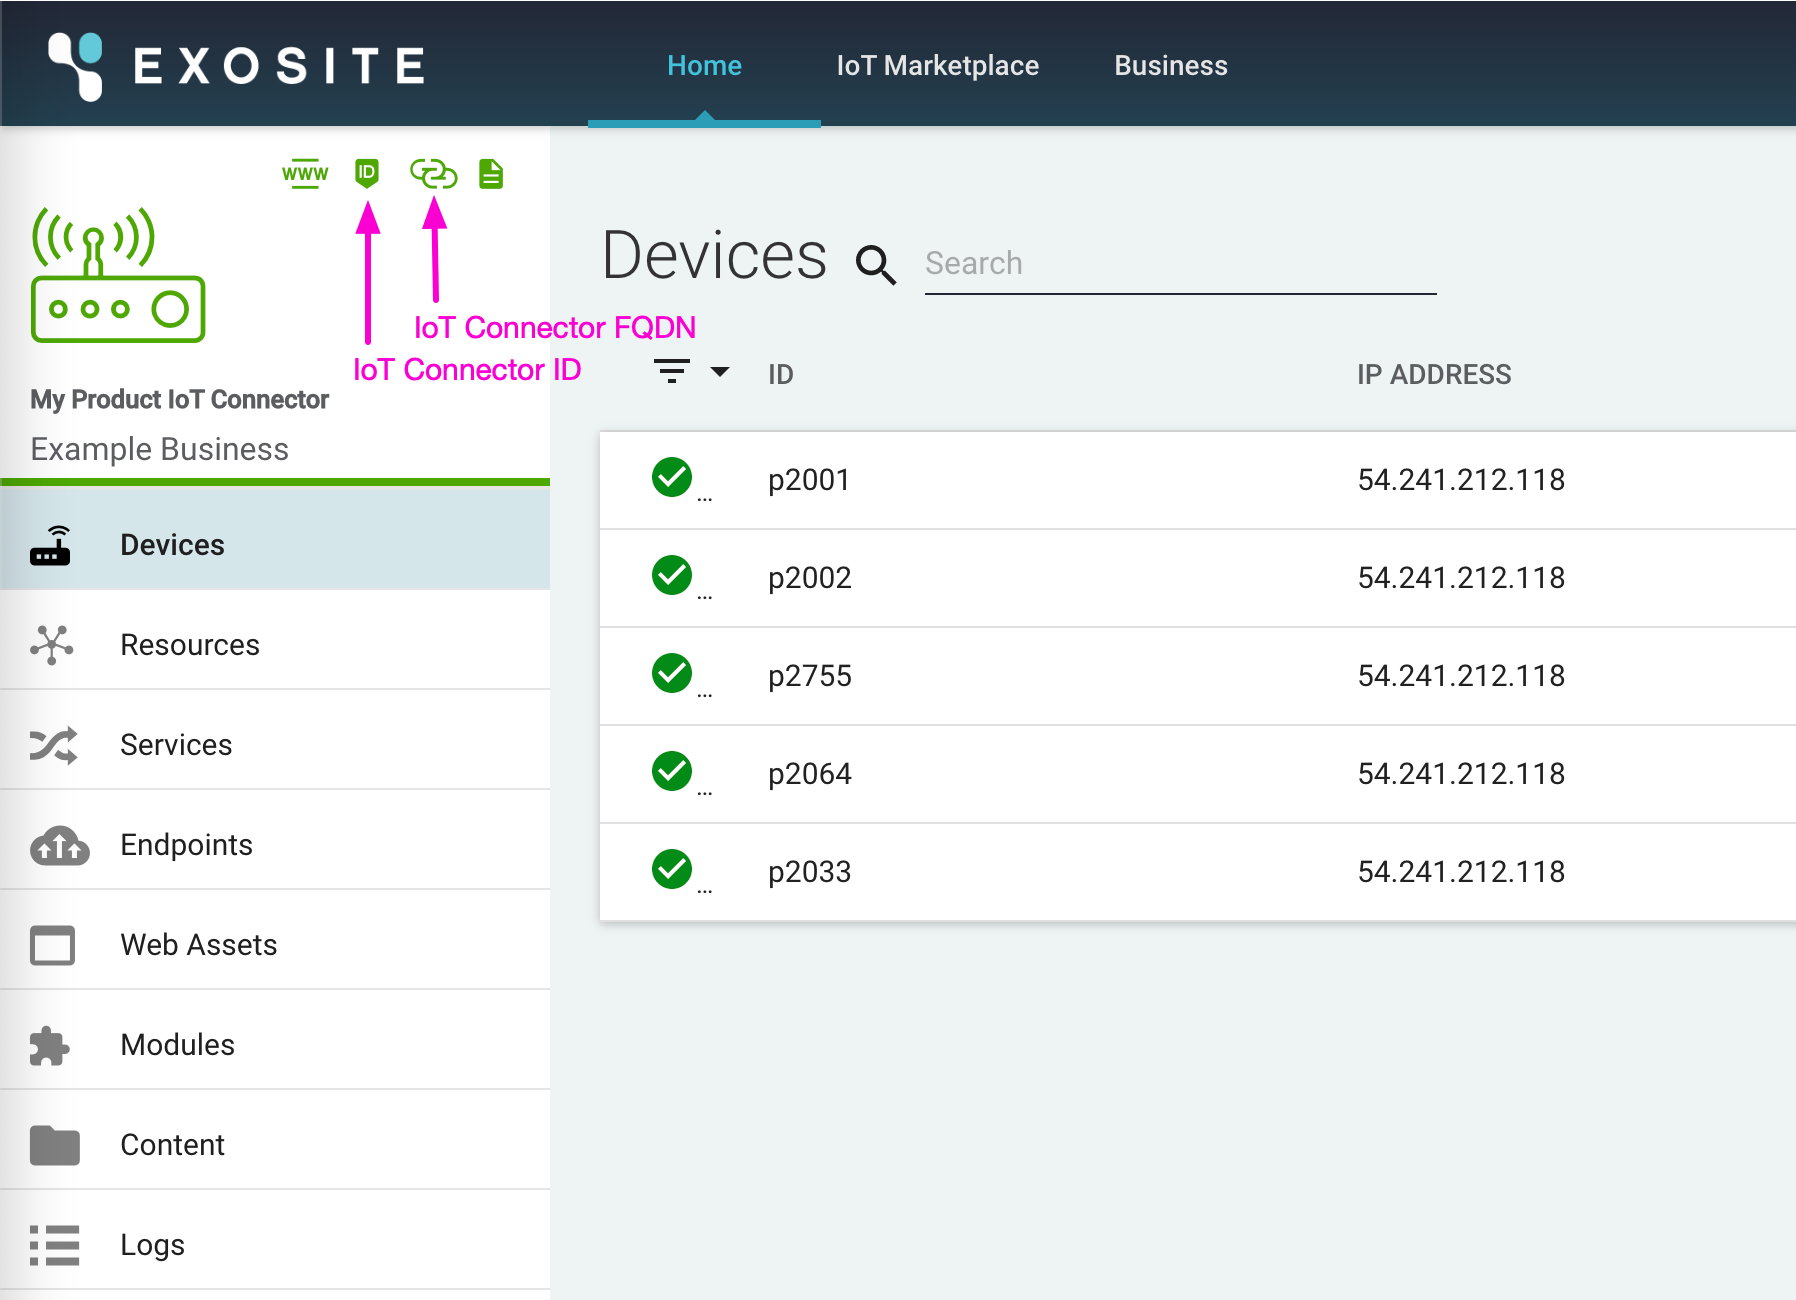
Unique IoT Connector information
Your IoT Connector has a unique identifier called the IoT Connector ID. The connector id is used as the service identifier for integration with applications like ExoSense.
Device data events in Exosite's IoT Platform are uniquely identified using the connector id, device identifier, and each device's resources to ensure it's known what the data is for.
Device Related Identification Summary
IoT Connector ID
Unique ID for the IoT Connector.
Example: 09iolmnn8090ol
FQDN
Unique fully qualified domain name for use with the Device APIs, which is based off the IoT Connector ID.
Example: https://09iolmnn8090ol.m2.exosite.io
Device Identifier
The Device Identifier is unique (within the IoT Connector) to the specific 'thing' or 'device' that is sending data to Exosite and will be tracked as a unique connected IoT device. The identifier could be a serial number, MAC address, etc, but is fully definable by the IoT Connector manager and device firmware. This identifier is used in addition to the IoT Connector ID to be unique in the Exosite platform, such as 09iolmnn8090ol.00AB01.
Example: 00AB01 or 00:EE:FF:01:02:03
Resources
A specific resource that data is sent to and/or read from under a unique device using the APIs. All devices within an IoT Connector have the same resources.
Example: data_in or config_io
Data Events
The resource used along with the Device Identifier and the IoT Connector ID create a unique data event identifier in the Exosite IoT Platform, such as 09iolmnn8090ol.00AB01.data_in
Example of unique IoT Connector device FQDN
https://09iolmnn8090ol.m2.exosite.io
Unsecured Communication Dev Mode Endpoint
If devmode is enabled (discussed in the Settings section, below), an additional endpoint is enabled for devices to connect to unsecured on port 80. This unsecured endpoint is nearly identical to the endpoint except https is changed to http and .m2. is changed to .devmode-m2. (e.g. http://09iolmnn8090ol.devmode-m2.exosite.io).
Devices
The Devices tab is where you will add, list, and manage all your devices (real or simulated). Once you have populated your list of devices, you will have the capability to search, sort, and filter your device list to suit your needs.
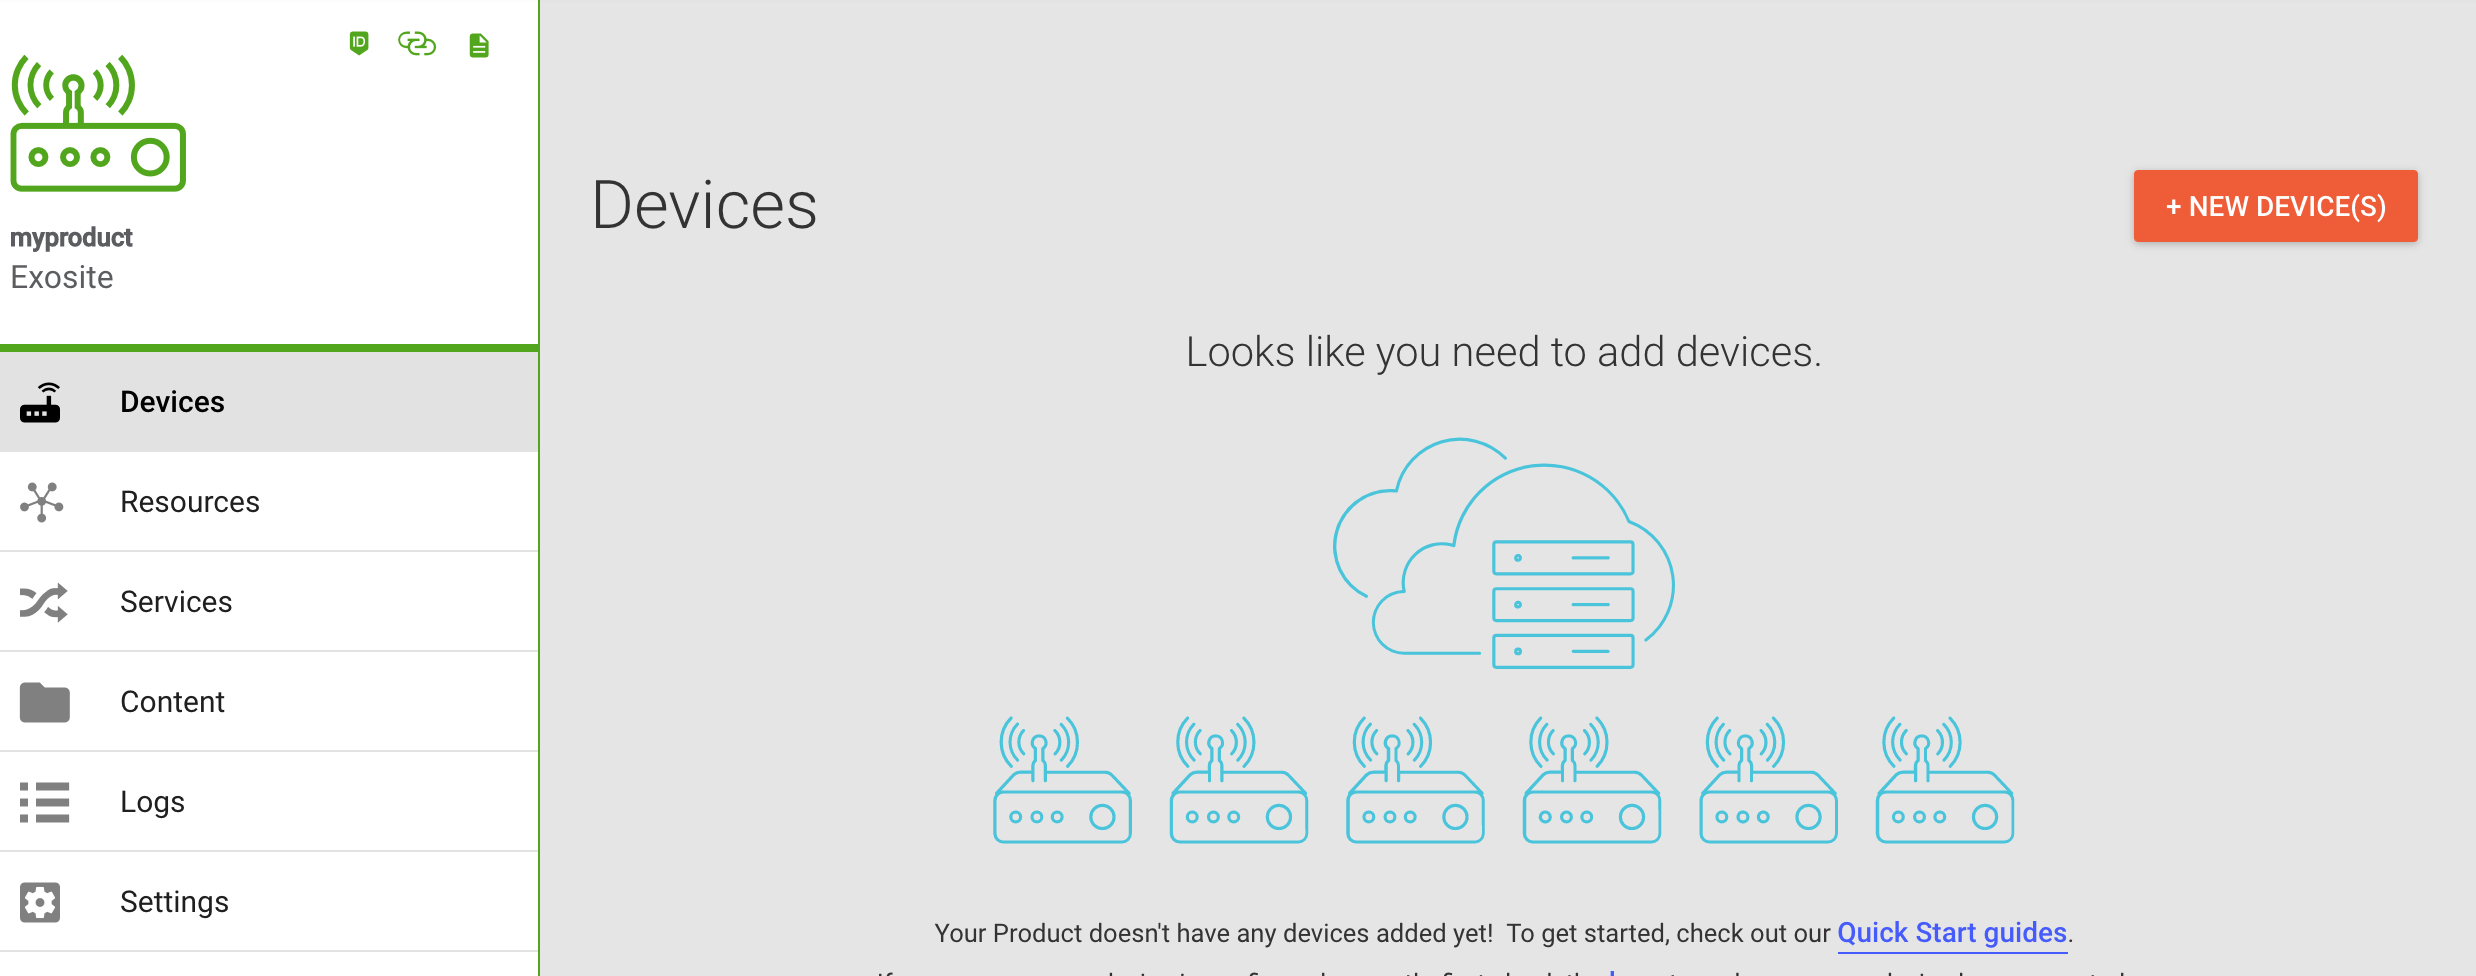
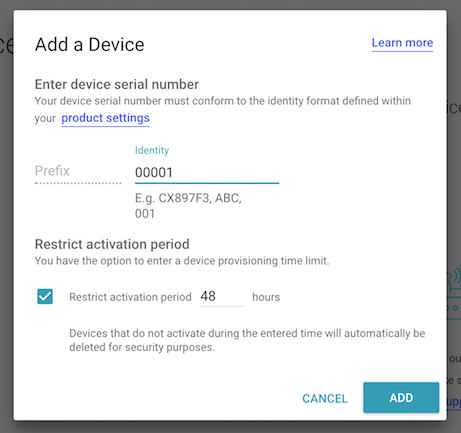
Adding Devices
When you click the + NEW DEVICE(S) button, you will have the option to add one device or many devices at once. More information and examples for bulk addition of devices can be found in the Provisioning Guide
Locking
This feature allows Murano administrators to revoke the communication privileges on a per-device basis. Marking a device as locked will cause all connection attempts by the device to be ignored. This can be useful, for example, in development or during in-field management to temporarily disable device communications.
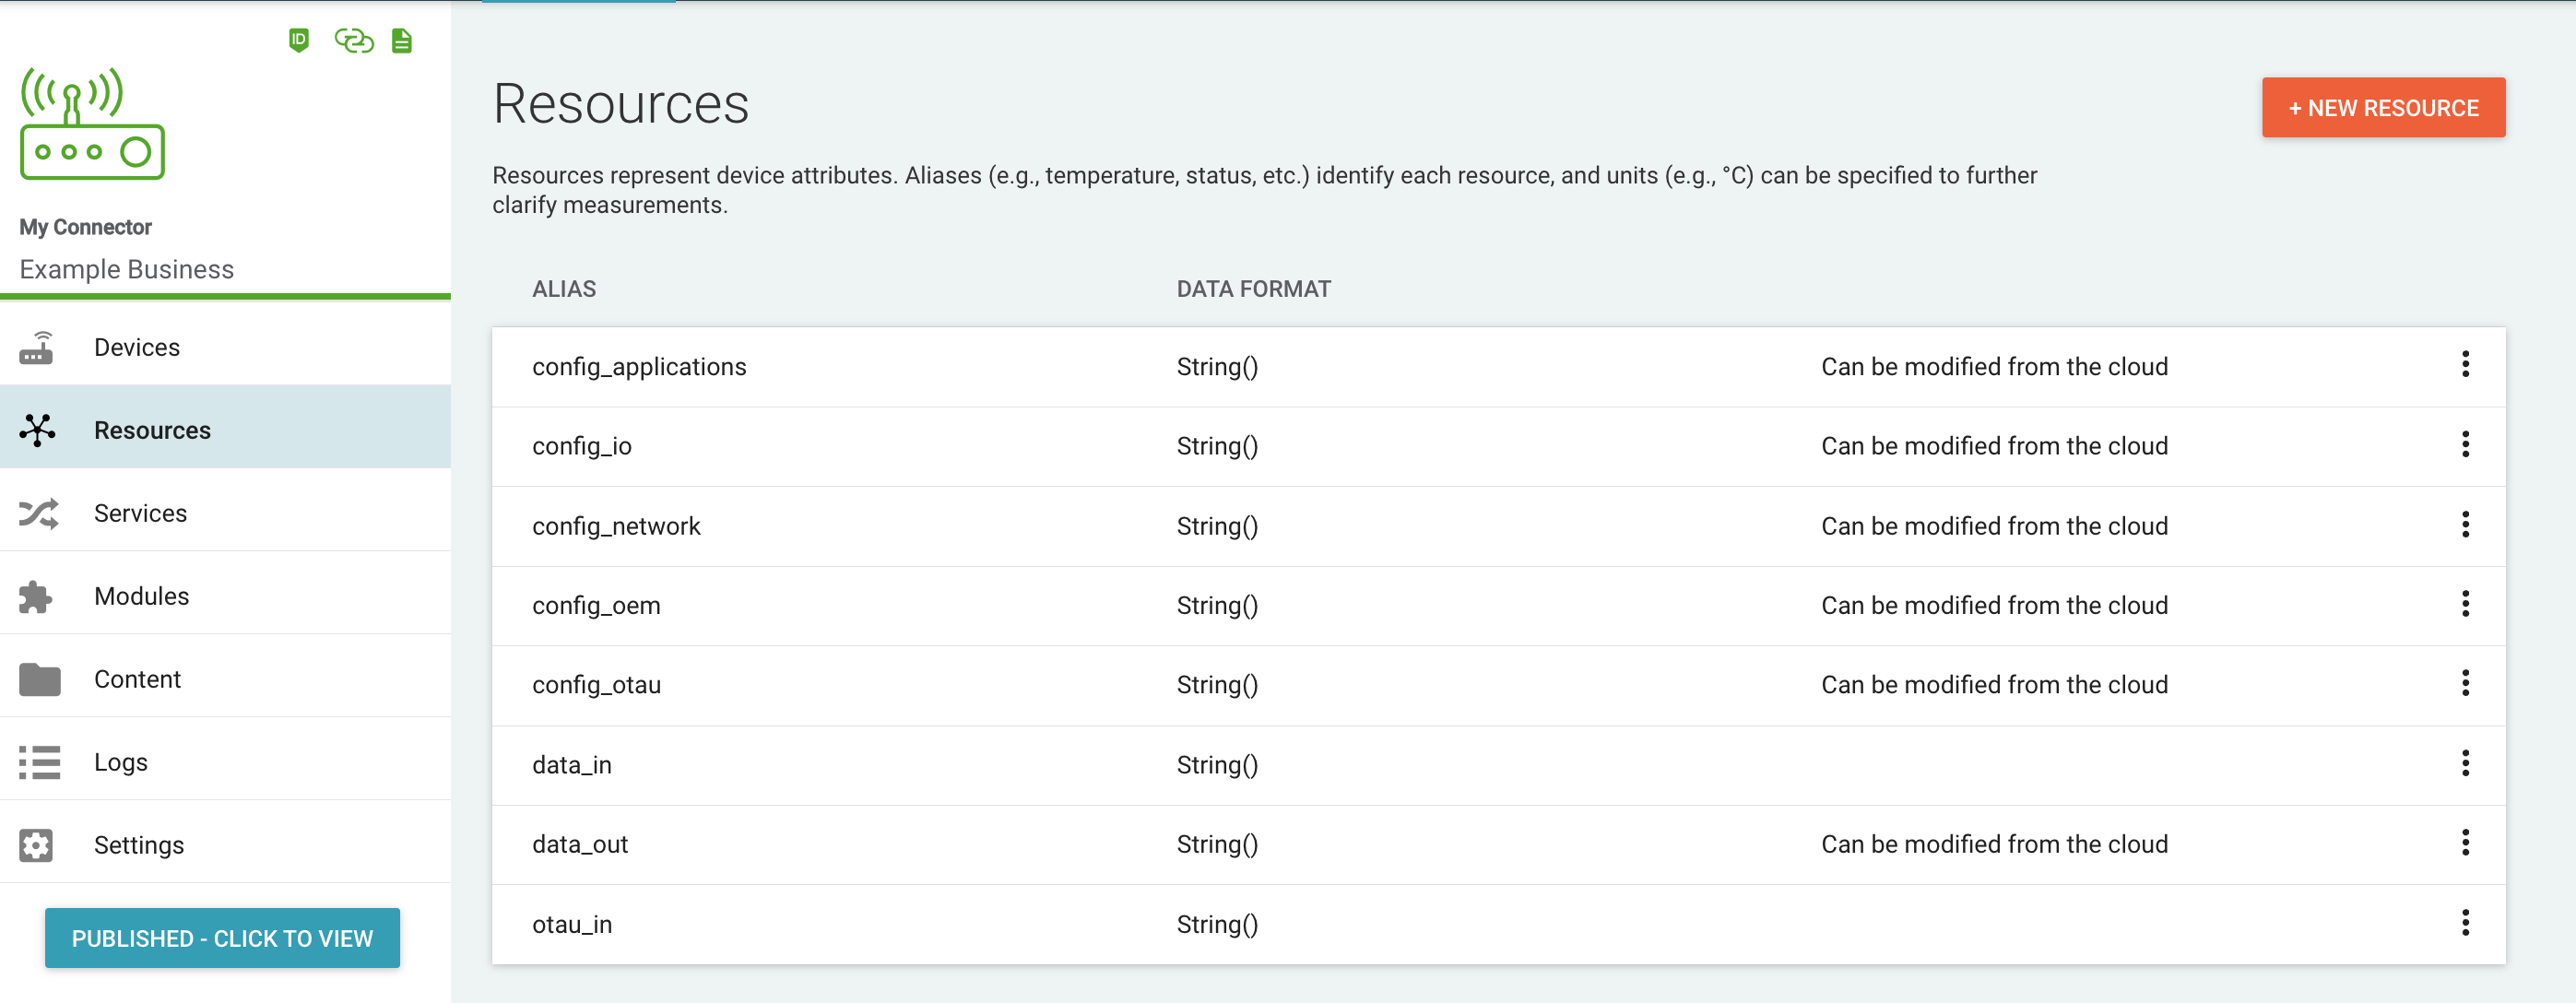
Resources
Resources are the the aliased attributes that you can interact with from an API standpoint with your device. For standard use cases with ExoSense, the set of resources are well defined, each serving a specific purpose for the ExoSense application solution.
IMPORTANT: ExoSense has a set of defined resources that are used for device interfaces. These are preset when using the ExoSense standard IoT Connector template.
More information for this can be found here: Connecting a Device guide..
Resources are shared by all device identities in the IoT Connector. When modifying / adding resources, these will apply to all.
The current resource values for a given device identity is visible when browsing the device in the IoT Connector.

Important Payload Size & Schema Requirements
- The full payload written to a resource is limited to 64 KB.
- The ExoSense signal data pipeline has a limit for a value of a channel / signal (in the data_in resource payload) of 2 KB.
- ExoSense uses a defined schema for resources. (IoT Connector Templates will setup the resources for you)
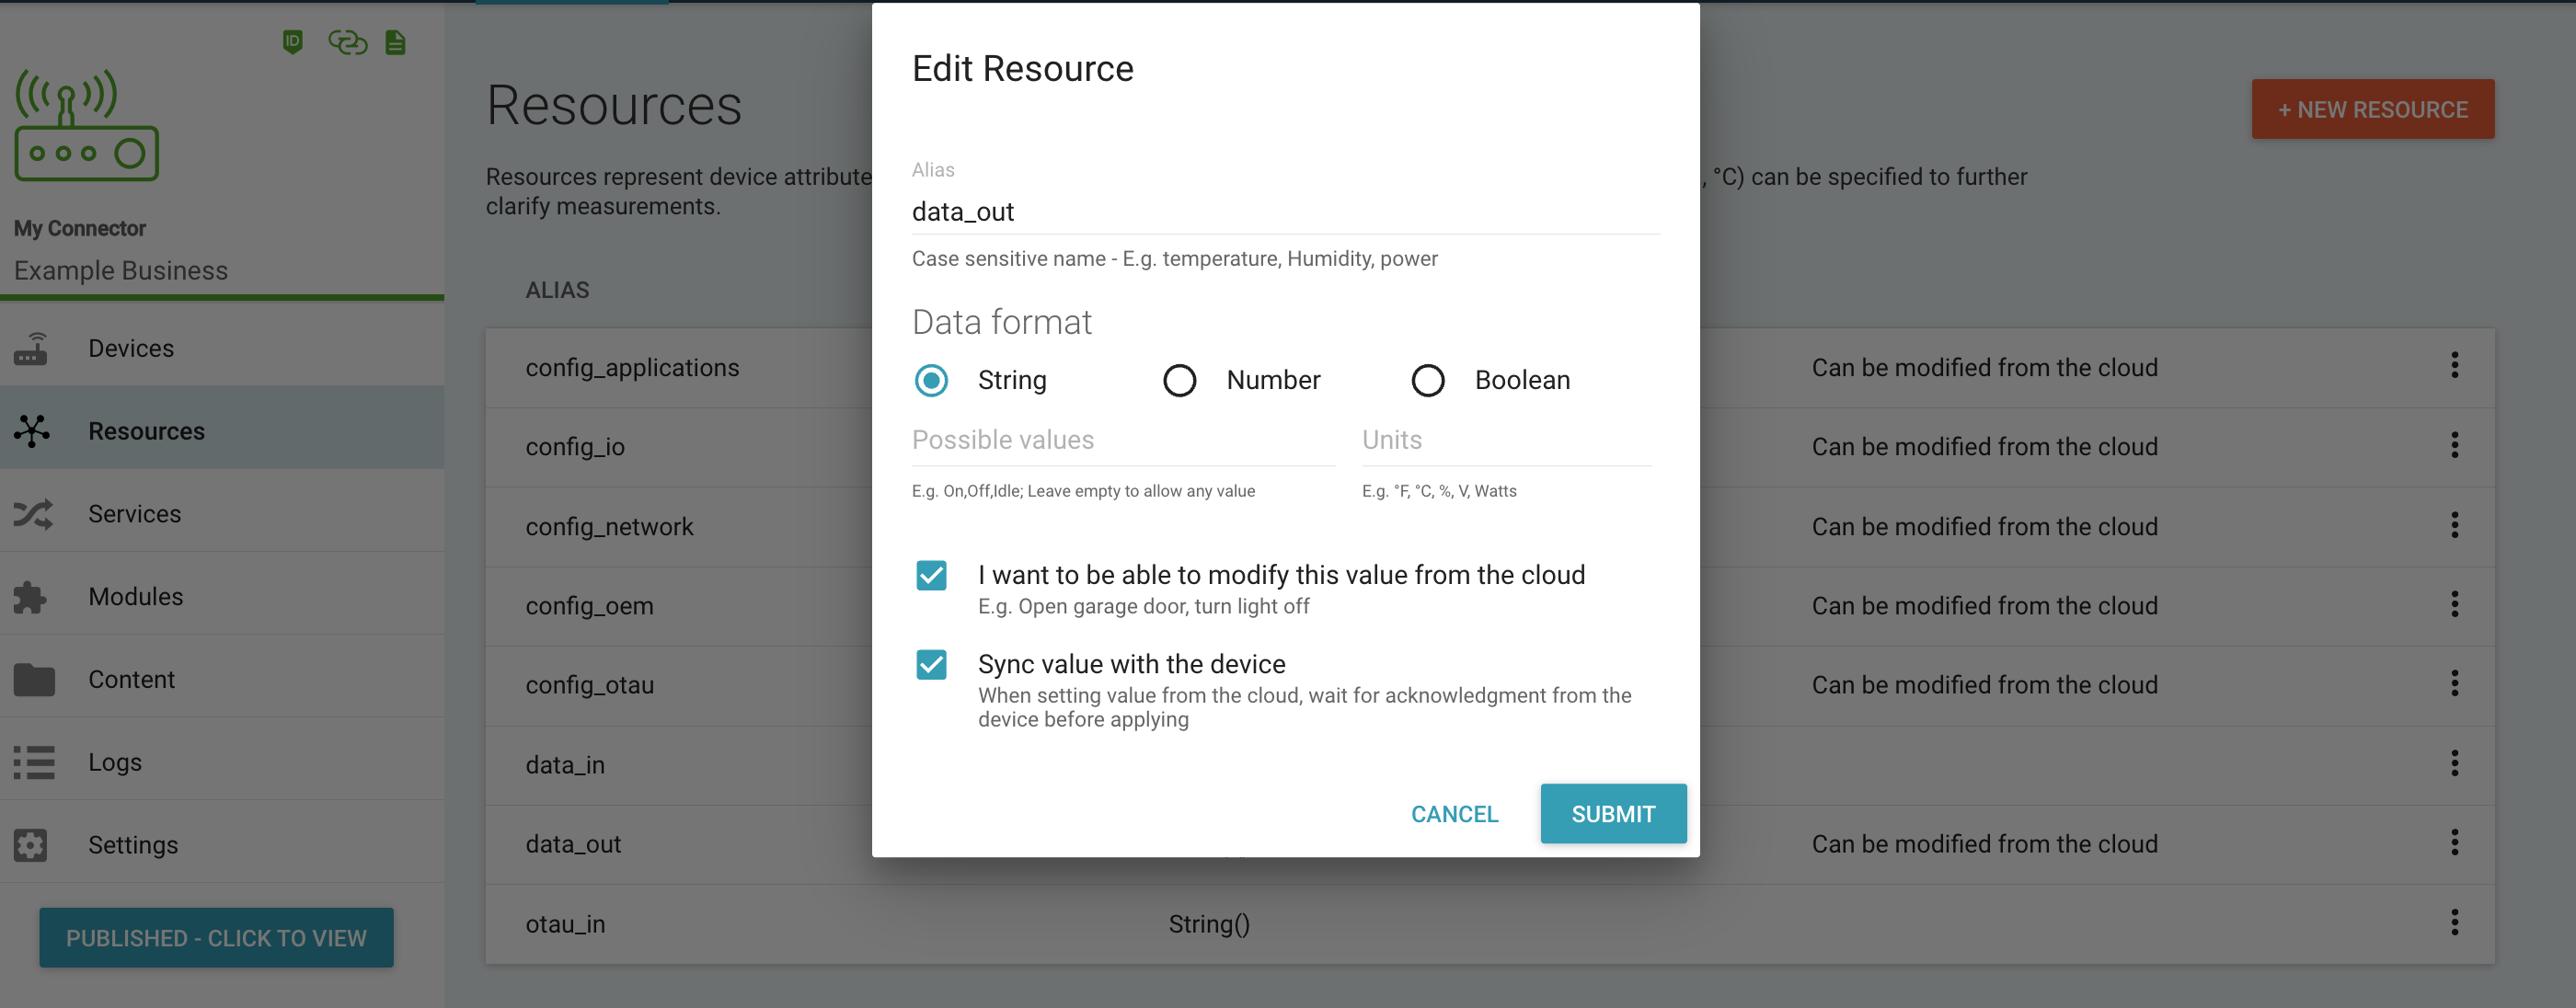
Resource Settings
| Resource Property | Description |
|---|---|
| Alias | The name of the resource, which is used with the device and federation API interfaces. These are case sensitive. Keep it simple, recommend single word and lower case. Resources are only used in the backend and in device firmware / API interactions. Note that ExoSense has predefined resources already and only in rare cases are additional resources added for customized IoT Connectors |
| Format | Note: ExoSense resources use String format of resources to send Stringified JSON into. Options for other resource use cases are:
|
| Possible Values | Not recommended for new use. Not used for ExoSense applications. |
| Units | Not recommended for new use. Not used for ExoSense applications. |
| Cloud Settable | The I want to be able to modify this value from the cloud setting. This enables the ability for the resource to be set by the cloud / application, such as for device control or instances of shared information such as configuration. ExoSense uses this for config_io (shared configuration) and data_out (control) |
| Sync Value With Device | When the Cloud Settable is enabled, this determines if the Device must acknowledge the value back after receiving the value. An example use is for the ExoSense data_out control use case, whether to require devices to acknowledge a control message was received. |
| Initial Value | Used to set the default value of a resource when an Identity is added. Not available within the UI, but can be set using device2 service API (advanced) or with IoT Connector templates (advanced). |
Using resources to send data to the device, such as for control features
Typically, devices report values to resources that are used by the cloud side application. It is possible to enable sending data to the devices with the Send data from the cloud (Cloud Settable) option, which can be used to support command-and-control behavior.
The Device Control Guide covers this in more detail.
Advanced Details
In the IoT Connector, the control use case is done through the setIdentityState Device2 Murano service function. All resources have a reported value which represents the last value written by the device (using the write API). Resources that are cloud-writable have an additional set value containing the value to send to the device. The device is then expected to acknowledge the received value which updates the reported to match the set. Devices will use either the read API or the long-polling API or MQTT subscription to receive control requests and then write appropriate resource updates to reflect its having acted on the request. When fetching the device state from the Murano service, you will have access to both reported and set values.
You can also disable the requirement of synchronization for a given resource. If so the set & reported will always be the same, and the data will not get pushed to the device. However the device can still actively access it on demand.
Undefined resources
Devices are not restricted to write to only defined resources. Devices write to "alias"es which may or may not correspond to defined resources. All device messages are sent via the Device2 Murano micro-service event handler to the script and can be processed as other device message, but only writes to defined resources will have the value stored in the device state under the "reported" values, available to devices via "read" and visible when viewing the device data.
Settings
The Settings page allows you to configure the Protocol, Event Types, Identity-Format, Root Authority Certificate, Authentication, Provisioning and Public Key Infrastructure settings to control what protocol the devices will use to communicate with Murano, how they identify themselves and how they authenticate.
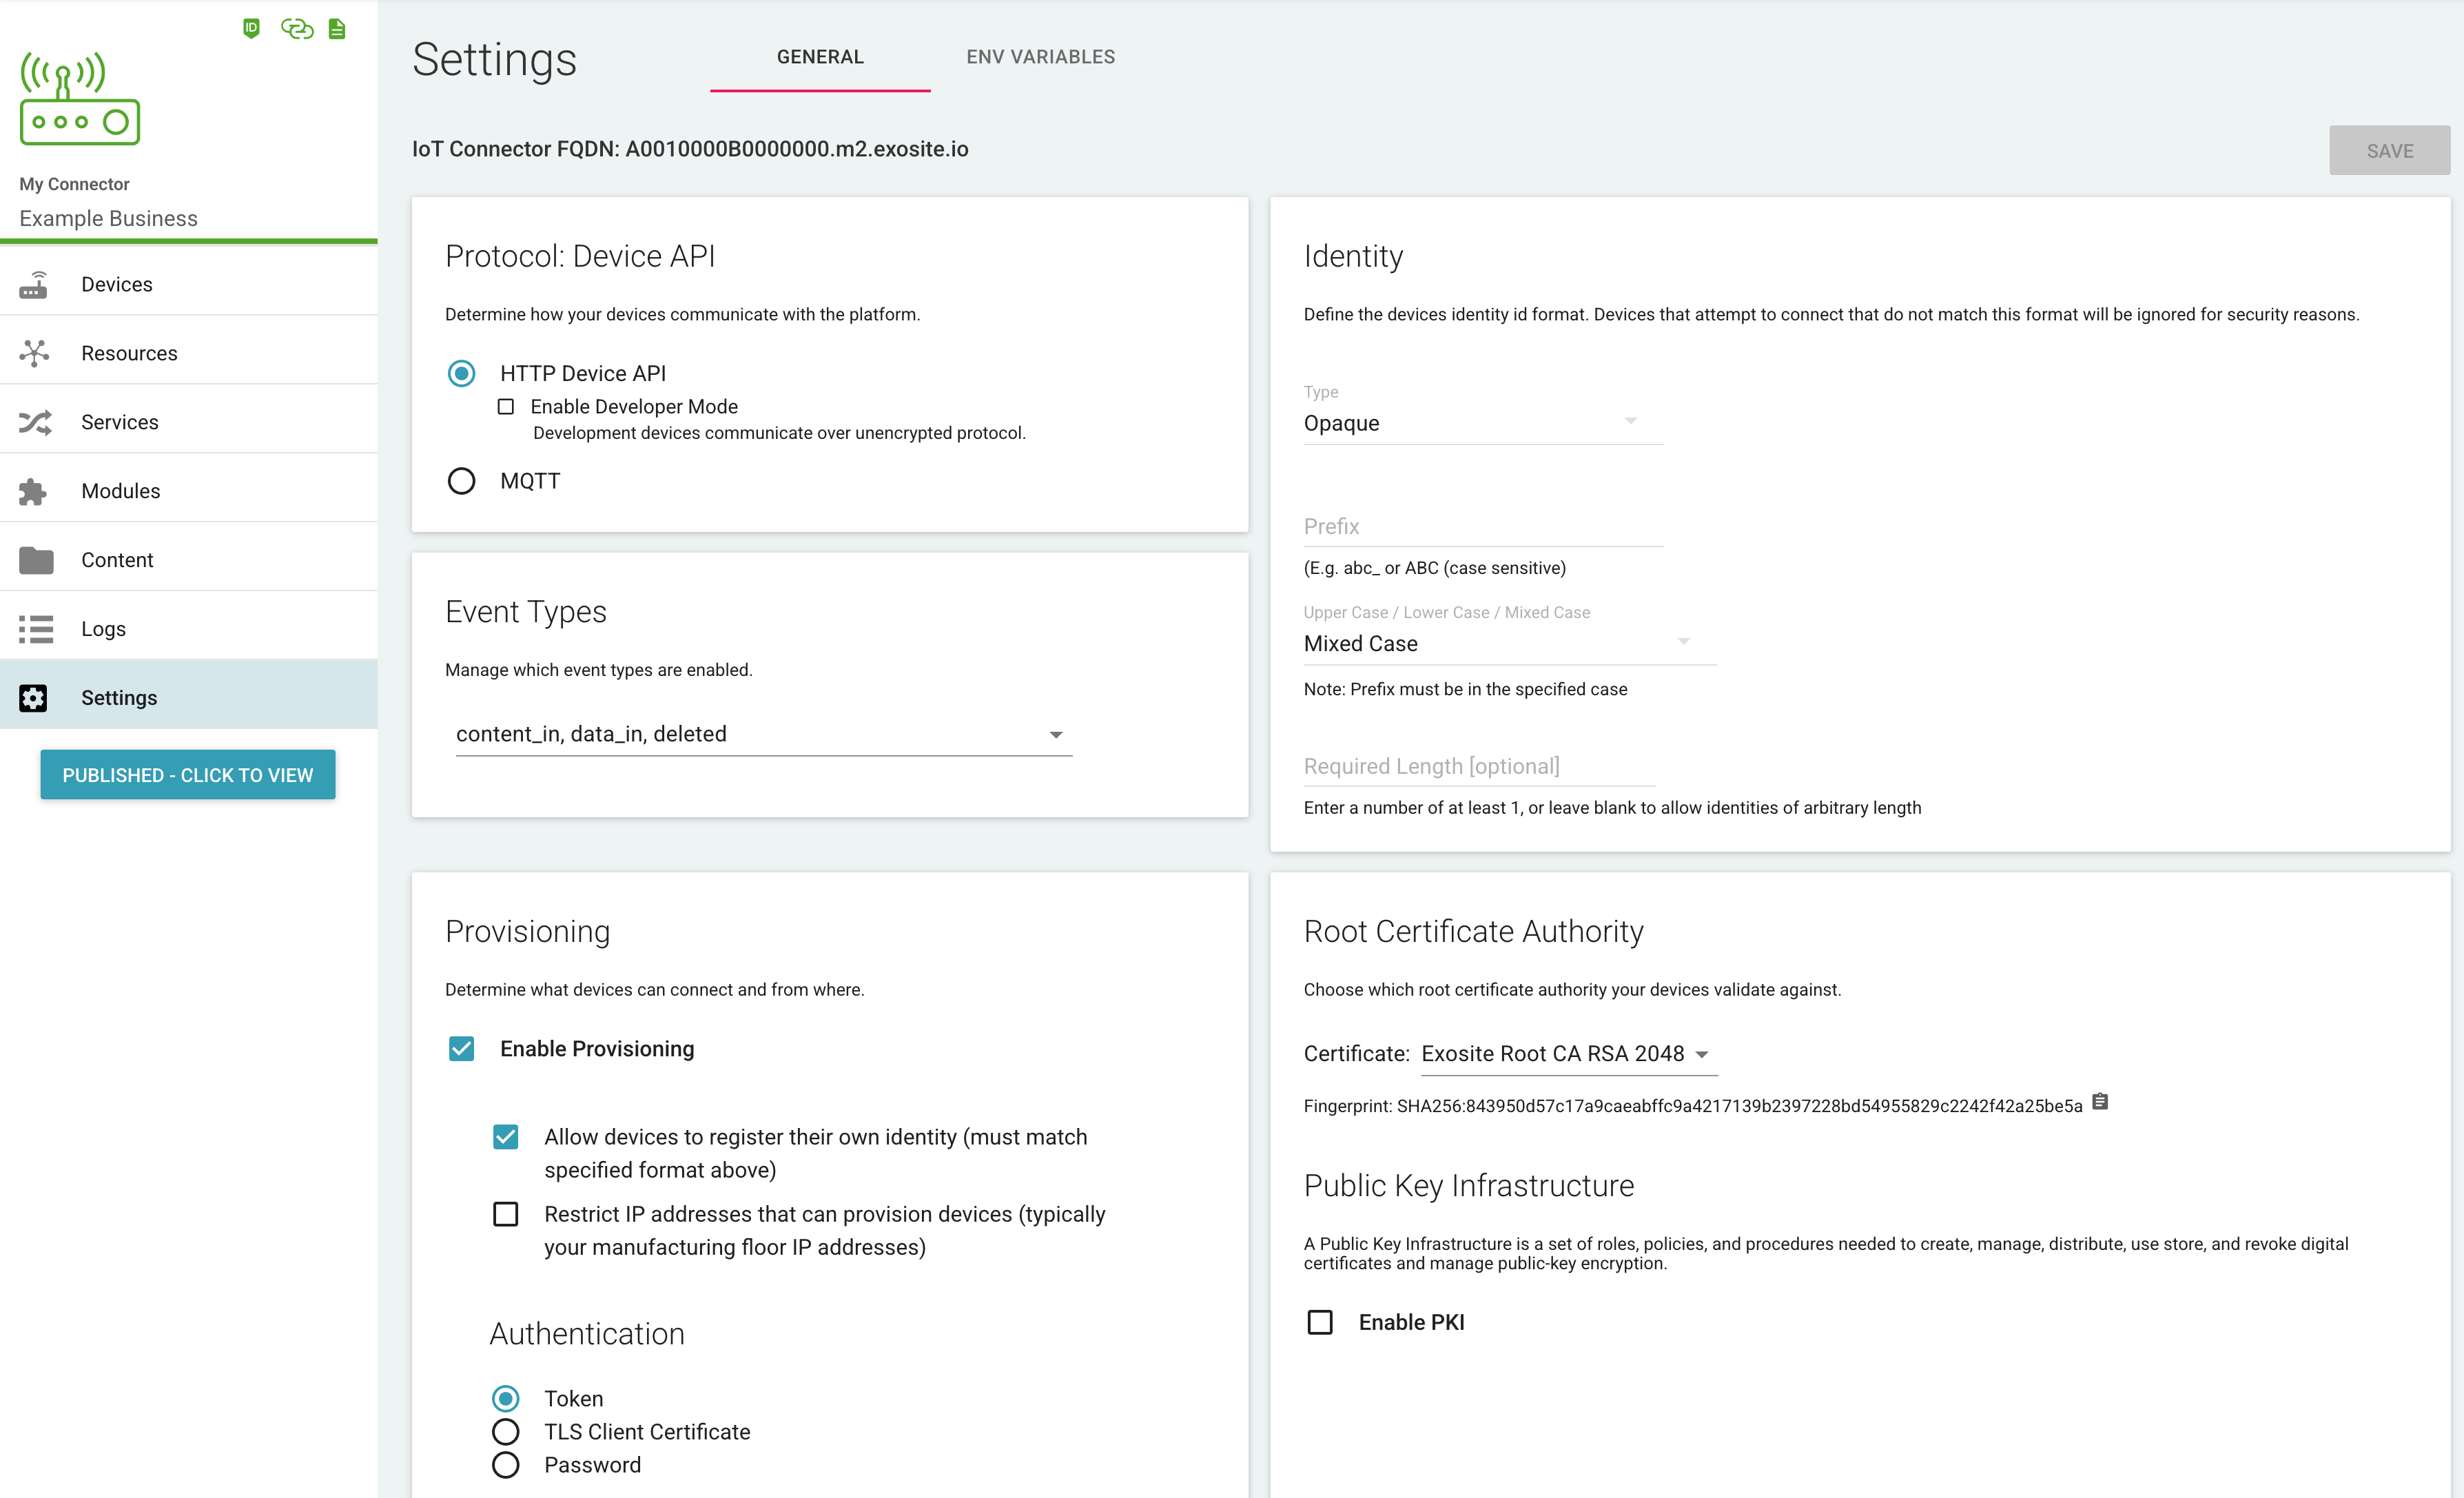
Protocol
This setting specifies the API protocol in which all devices in this IoT Connector will communicate with the platform.
- HTTP Device API
- MQTT Device API
- Federation - CloudEvents Protocol (Available when creating a Federation Connector type)
ALPN support (dual protocol)
It is possible for a device to switch protocol independently from the global setting by using the ALPN flag upon connection. For example this enables MQTT based devices to download files over HTTP.
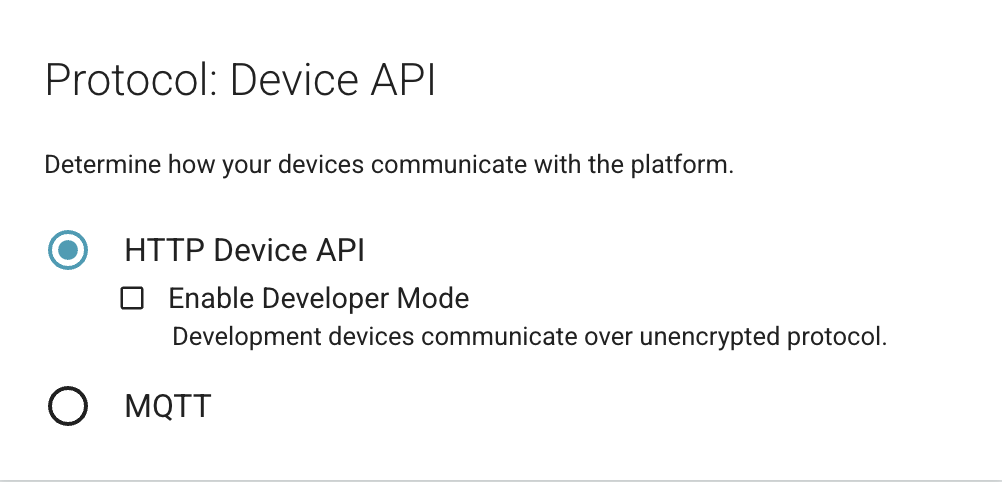
Developer Mode
NOTE: Enabling the "Enable Developer Mode" checkbox allows unsecured HTTP communications on port 80. Unsecured HTTP communications can be read by third parties who are able to intercept the communications, thereby potentially exposing sensitive information. Although this setting can be useful during certain stages of device development, or in unique payload-level-encrypted systems, it should not be enabled except for development TLS connection troubleshooting issues. Never use for production hardware.
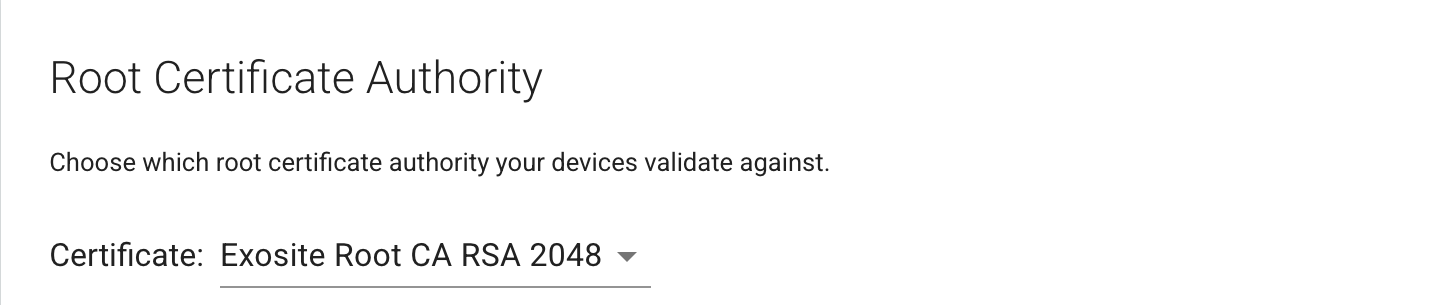
Root Authority Certificate
The Root CA (Certificate Authority) setting specifies the certificate authority your IoT devices will validate against to establish secure connections with the Exosite Murano Platform. The Exosite Root CA is a Exosite managed CA with a 40 year validity period. This certificate must be downloaded and stored on your device / firmware. Alternatively the Digicert Global Root CA may already exist in your device's trust store if it is running an operating system with regular security updates (Linux/iOS/Android/Windows, etc).
Recommendations
- Use the Exosite Root CA , which has a long life validity period. Our support team can discuss the right approach for your product if you have questions.
- Ensure all devices have an infield update process (OTA - "Over the Air", etc) to ensure firmware and certificates can be updated in the future.
For more information and downloads for the supported Root CAs, see Device API Encryption Requirements - Root Server Certificates
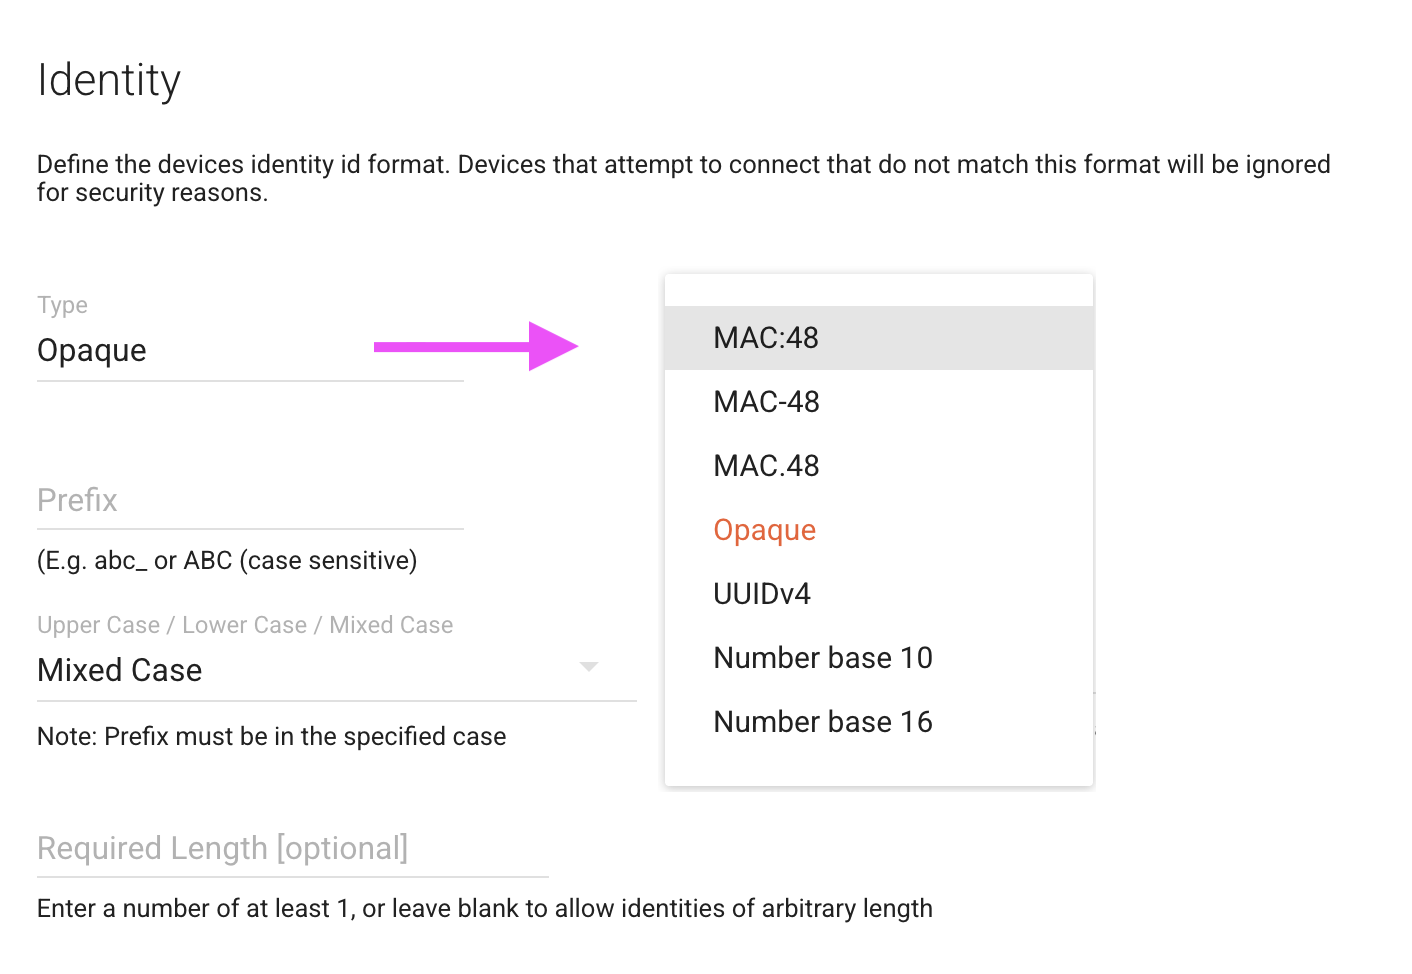
Identity Format
This feature defines how connecting devices must identify themselves or be considered invalid and ignored in successive communication attempts. Devices are identified differently based on the authentication method chosen—Token or TLS Client Certificate. In the case of Token authentication, the identity of the connecting device is determined by the id field of the HTTP Device activate API method. In the case of TLS Client Certificate authentication, the identity of the connecting device is determined by the common name /CN value of the client certificate. In both of these methods, the Identity Format must be adhered to in order for the device to be recognized in communication requests.
NOTE: Devices that attempt to connect that do not match this format will be ignored for security reasons.
Provisioning
The Presenter Identity configuration setting allows devices to identify and provision themselves at the time they first connect to Murano. The Presenter Identity setting simply means that devices connecting to a Murano device gateway do not need to have their identity be whitelisted in advance and that the Murano device gateway will auto-whitelist the identity the device "presents."
When set to true (default), allows devices to provision themselves and any device identity to communicate with the Murano device gateway. When set to false, devices connecting must first be whitelisted onto the device gateway in order for its requests to be honored.
See our provisioning documentation for a complete guide. Provisioning Guide
Note
When provisioning a device, the device may present its own identity (assuming "Allow devices to register their own identity" is selected). Such devices will have an identity (such as a MAC address) that must match the specified format. It is possible for illegitimate devices to successfully provision; presented identity provides a slightly greater barrier due to its identity format validation.
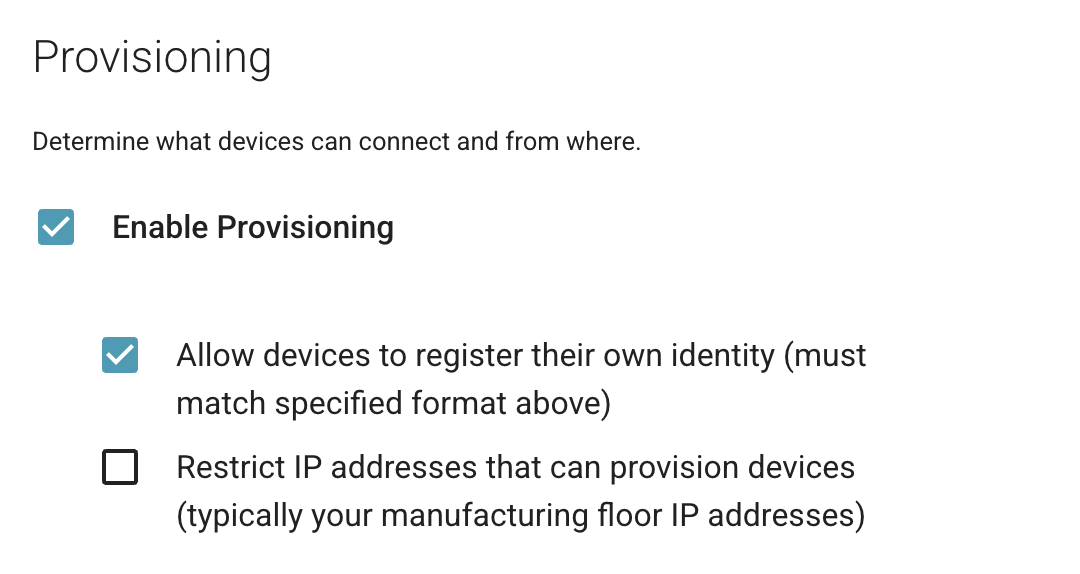
IP Address Restriction
IP Address restriction can be used to restrict device provisioning. The IP whitelisting manages known IP addresses that devices will connect from when connecting to Murano for the first time. This feature is useful to IoT vendors working closely with hardware manufacturers. If a connecting device's requests originate from an IP address not in the configured whitelist, then the device will be ignored. Once the device has connected from an IP address in this whitelist, it can make successive requests from any other IP, and its requests will be honored.
Authentication
The authentication setting defines how devices needs to security identify themselves to the cloud. Devices connect to Murano using their unique IoT-Connector domain. This fqdn (fully qualified domain name) can be found in the IoT-Connector UI as well as via the Device2 getGatewaySettings API method. Secure connection relies on TLS protocol and we invite you to our TLS reference page.
Also see our provisioning documentation for a complete guide.
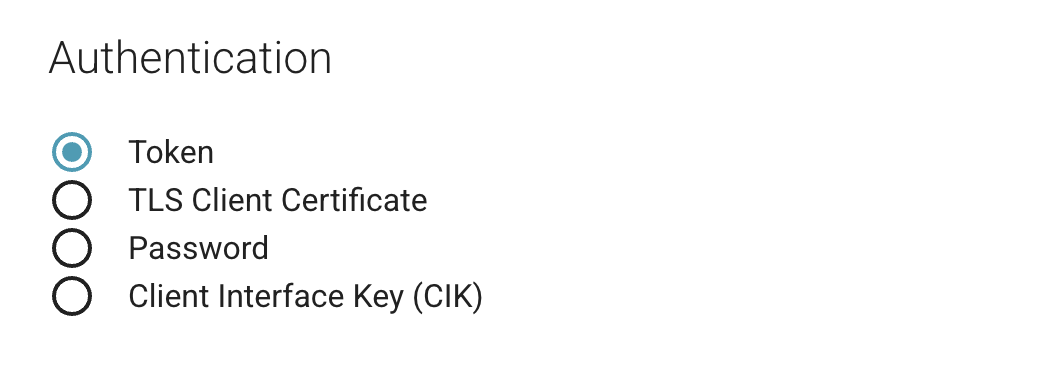
The following options are supported for authentication:
Token
When the Token method of authentication is selected, a device can provision a private authentication Token to be used in subsequent communications to uniquely identify and authenticate itself to the Murano device gateway. If provisioning is disabled, then device authentication Tokens must be managed via Murano CLI and UI tools and manually associated and stored on the device.
Warning
An authentication option available with the Token method can disable the use of TLS connections, allowing unsecured HTTP communication between a device and the Murano device gateway. The use of this option is highly discouraged and maintained in Murano as a development tool for easing the validation and development of firmware on a device connecting to Murano.
Token vs CIK
The Authentication Token is sometime mentioned as "CIK" as compatibility with Exosite's legacy One Platform.
Password
When the Password method of authentication is selected, a device can provision credentials for the given Password (at least 20 characters) to be used in subsequent communications to identify and authenticate itself to the Murano device gateway. If provisioning is disabled, then device authentication Password must be managed via Murano CLI and UI tools and manually associated and stored on the device.
TLS Client Certificate
When the TLS Client Certificate method of authentication is selected, a device uses a unique X509 private and public key that Murano uses to both authorize and identify the connecting device. Murano will use the X509 credentials (which can be provided by a PKI vendor or it can be self-signed) to identify and authenticate the device. Certificate based authentication has two flavors:
Without certificate verification
This allows clients to connect to Murano with a certificate (self-signed or signed by a Certificate Authority). Murano will extract the common name /CN=<value> from the certificate and use the <value> to identify the client. Then, it will use the certificate as a password to verify the client's authenticity.
With certificate verification against a Certificate Authority (CA)
It is possible to enable and configure a Certificate Authority (CA) for an IoT-Connector under its Protocol settings. If CA is enabled and configured, the certificate presented by the client will be verified against the configured CA. If the configured CA was its issuer and certificate has not yet expired, authentication will be successful. Otherwise, authentication will fail. If CA has not been enabled or it has been disabled and a client connects with a certificate, authentication will fall back to the authentication "Without certificate verification" method.
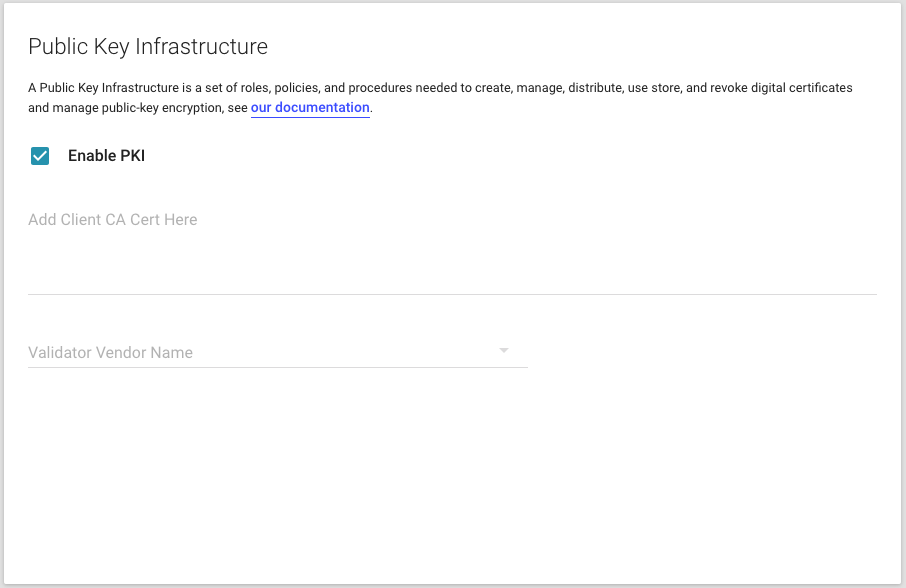
Public Key Infrastructure
A Public Key Infrastructure (PKI) is a set of roles, policies, and procedures needed to create, manage, distribute, use store, and revoke digital certificates and manage public-key encryption, see our provisioning documentation page.
This option is only relevant for TLS Client Certificate Authentication.
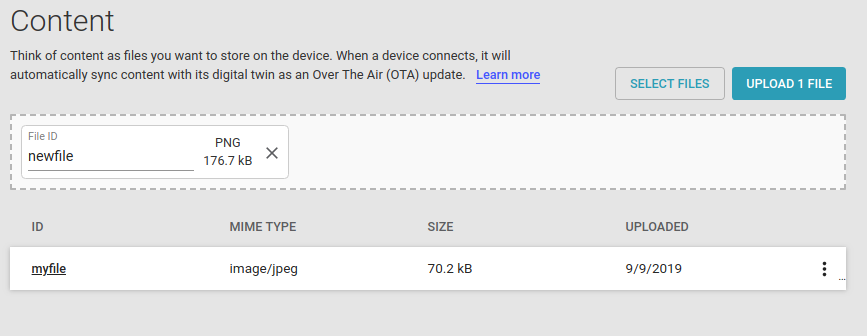
Content
The Content page serves as a secure file store powered by the Murano Content Micro-Service. Click “+ NEW CONTENT” and follow the prompts to upload your files. Each content item has an ID, a MIME type, a size (in bytes), and a timestamp. In IoT-Connector, those files can be accessed by your devices through the device API. Devices may list available content, get content info, download and upload content using the HTTP Device API.
There is no restriction as to the kind of content that can be made available to devices. Files can contain anything from audio/video content to config data, but the typical use case is to store firmware updates. For content that gets updated over time, such as with new firmware versions, it is recommended to include in the ID some kind of version tag. Whether this approach is taken or the content is updated in place and a timestamp is used to differentiate, devices will need a means to know which version they are at. Exosite recommends storing this information in a Resource. Additionally, if the resource is cloud-modifiable, the device can be notified when new firmware is available.
Content Size
There are two methods for uploading content from devices. The standard upload request can handle up to 100MB. For content larger than 100MB, please contact support.
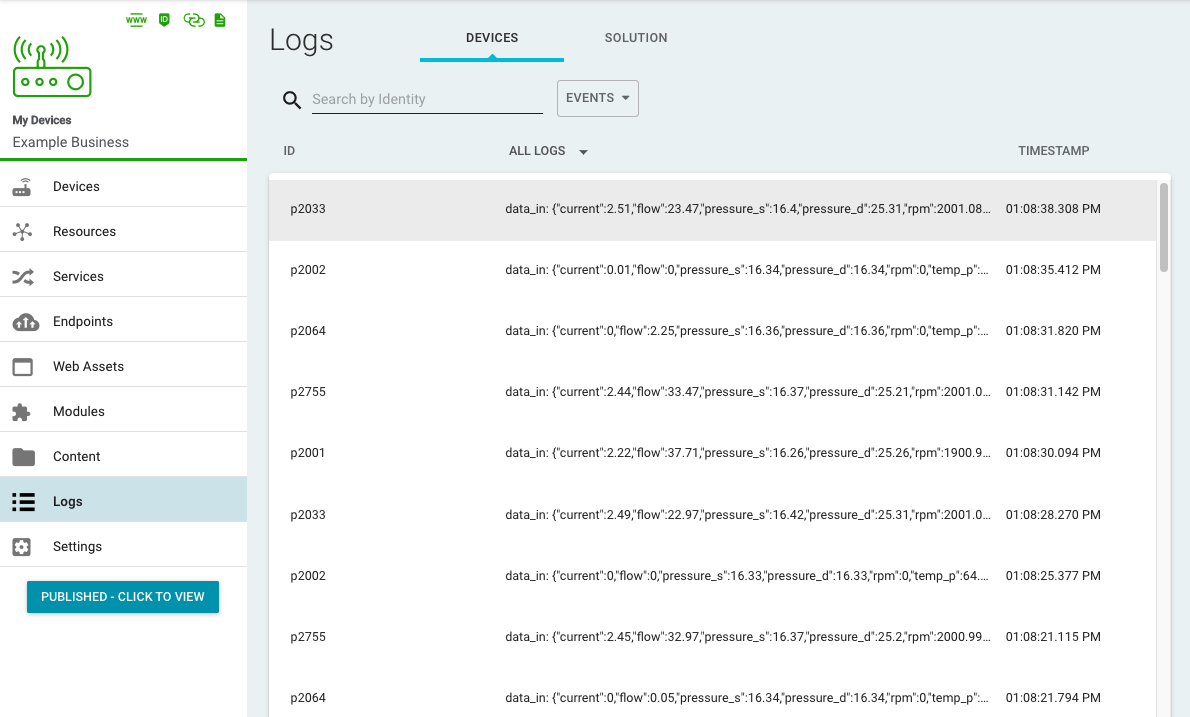
Logs
The Logs page is where you may access a connection log of each device’s meta data and a "live" view that displays events associated with a product's FQDN that came in while the Murano product UI was running.
The logging events are not saved, so they can only be viewed in real time either by the Logs section in the IoT-Connector UI or Murano CLI. This is most useful in debugging and development applications.

There are two types of logs: "events" and "debug". When devices connect, disconnect, make provision attempts, and publish data, these events will be logged to the "events" log. When a failure occurs during a device connection attempt or other device activity, those failures get logged to the "debug" log.
Event Log by Device Identifier (Identity)
When an Identity is given, event log entries for only that Identity address will be displayed in the IoT-Connector UI.
Device Connection Debug Logs
The debug log can be filtered to a specific IP address. When the IP address filtering is enabled, it allows additional debug information to be logged that typically happen before a connection is even associated to a domain or a device would have authenticated. This helps with debugging problems associated with TLS negotiation, or issues related to a missing SNI or failed device authentication. Without an IP address specified, there would be no way to associate such failures to any specific domain.
Debug Log by IP Address
When an IP address is given, log entries for only that IP address will be displayed in the IoT-Connector UI.
Debug Log Messages | Description |
|---|---|
idle_timeout | With MQTT connections, this can happen for one of two reasons: 1. The device must send the CONNECT message within 5 seconds after opening the connection. If that does not happen, Device2 will close the connection with the reason idle_timeout. 2. After successful authentication, the connection will be closed after a configured length of inactivity. The length will be set by the CONNECT message KeepAlive field or, if not present or set to 0, a default value of 300 seconds. |
not_authenticated | With MQTT connections, this will happen if the device attempts to send messages (other than the PUBLISH message to the $provision topic) before sending the CONNECT message or the CONNECT message sent does not contain authentication credentials. With HTTP connections, if an already provisioned device attempts to re-provision, it must authenticate with the old credentials. If that does not happen, the request will fail with 400 not_authenticated. |
duplicate_connection | With MQTT connections, the duplicate_connection debug log is generated when a new client connection replaces one which was already active for that same client. |
presenter_identity_disabled | This error value indicates that a device attempted to provision when the domain it belongs to did not have the presenter_identity option enabled and the device was not whitelisted. |
ssl_closed | This means that the remote end of the connection, i.e. the device, has closed the connection unexpectedly, i.e. without sending the DISCONNECT message first. |
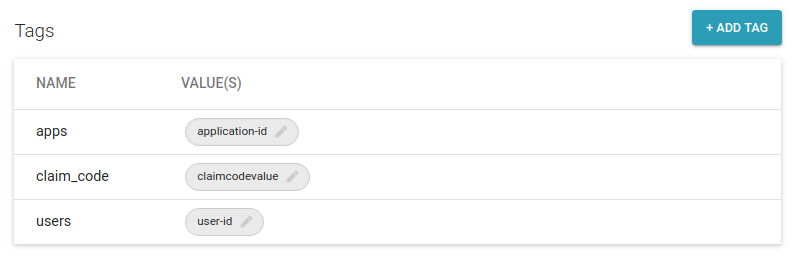
Tags
Tags are static device identity metadata enabling fast and flexible devices search and filtering, in addition to use from ExoSense for device management. Each tag is a pair of a Tag Name and a Tag Value. Multiple pairs with the same Tag Name with multiple values are possible.
Resources vs Tags
Tags are different from Resources in an IoT Connector. Resources hold device data sent from or to the device. Tags hold meta information and are not accessible to the device through the device API.
ExoSense Tags
ExoSense leverages two specific tags. These are optional to use, providing information helpful to those managing source devices and creating assets from the source device identities. These tags may be added in the Murano IoT Connector solution user interface, when uploading bulk identities in the Murano IoT Connector solution interface, or from within ExoSense.
| Tag | Description |
|---|---|
label | Is used to provide a descriptive label about the device identity, such as where it is installed, or a position it may be installed in. Should be a short word or two. |
note | A more descriptive piece of information about the device identity, any notes about this identity. |
Adding tags
On each identity details page, you can have a full view and control of the tags. Including the ability to add, update or delete Tags.
- 1 tag name can hold multiple values.
- When Bulk uploading device identities, you can provide the tags as part of the provided CSV document.
- ExoSense allows editing tags it supports from the Device Management interface.
Tags cannot be set through the Device API.
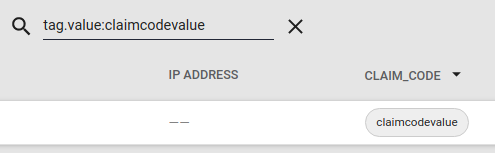
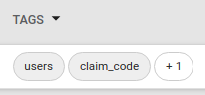
Searching by Tags
Tags may be used for device search & filtering in the Murano IoT Connector solution interface. On the IoT-Connector Devices tab, each entry have their tags displayed under the tags column.
By default the list of tag names is visible. You can display values for a given tag by selecting the tag name in the header drop down.
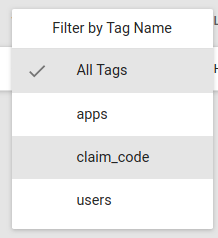
This will automatically filter all devices having a value for this tag. Once selected, you can now search devices by the selected tag value in the search box.